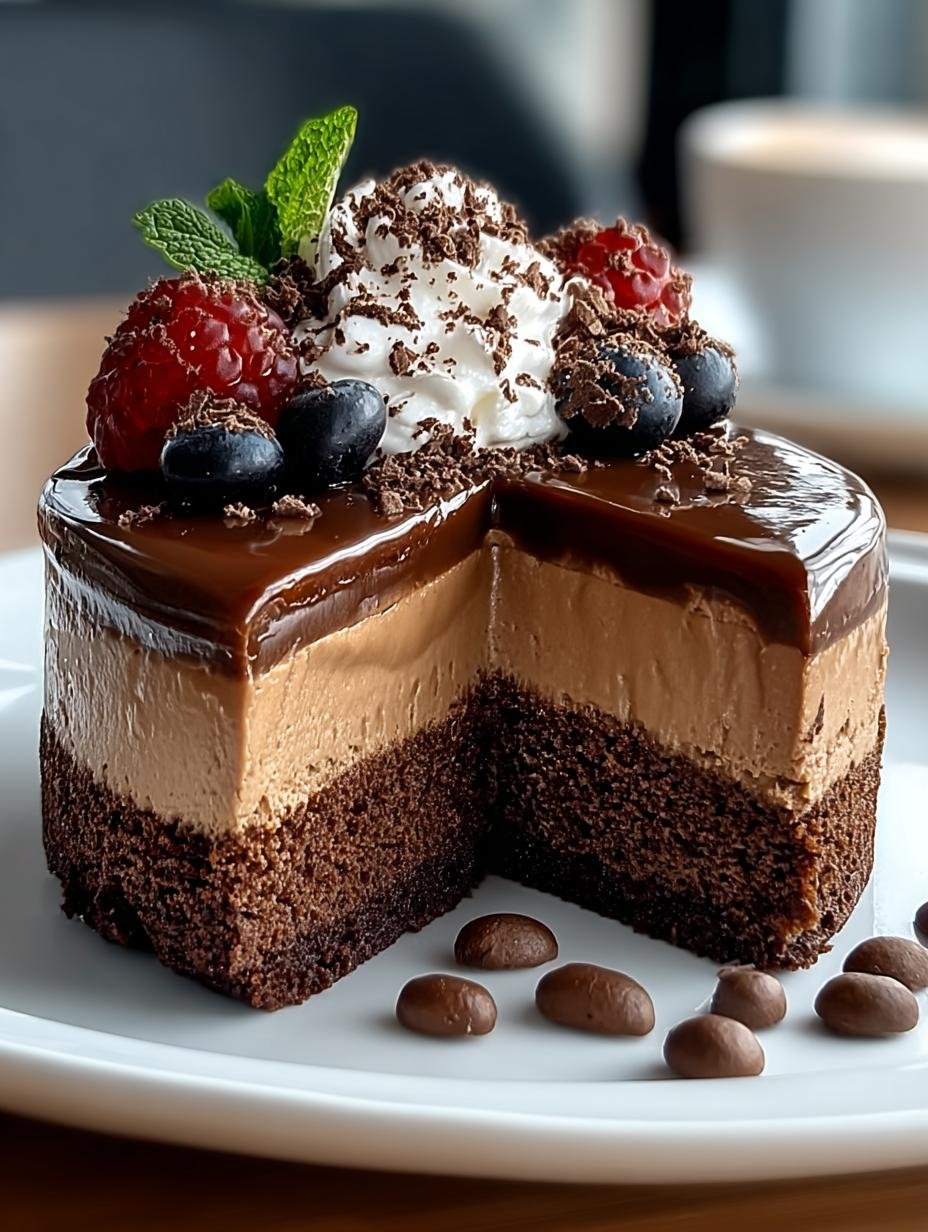
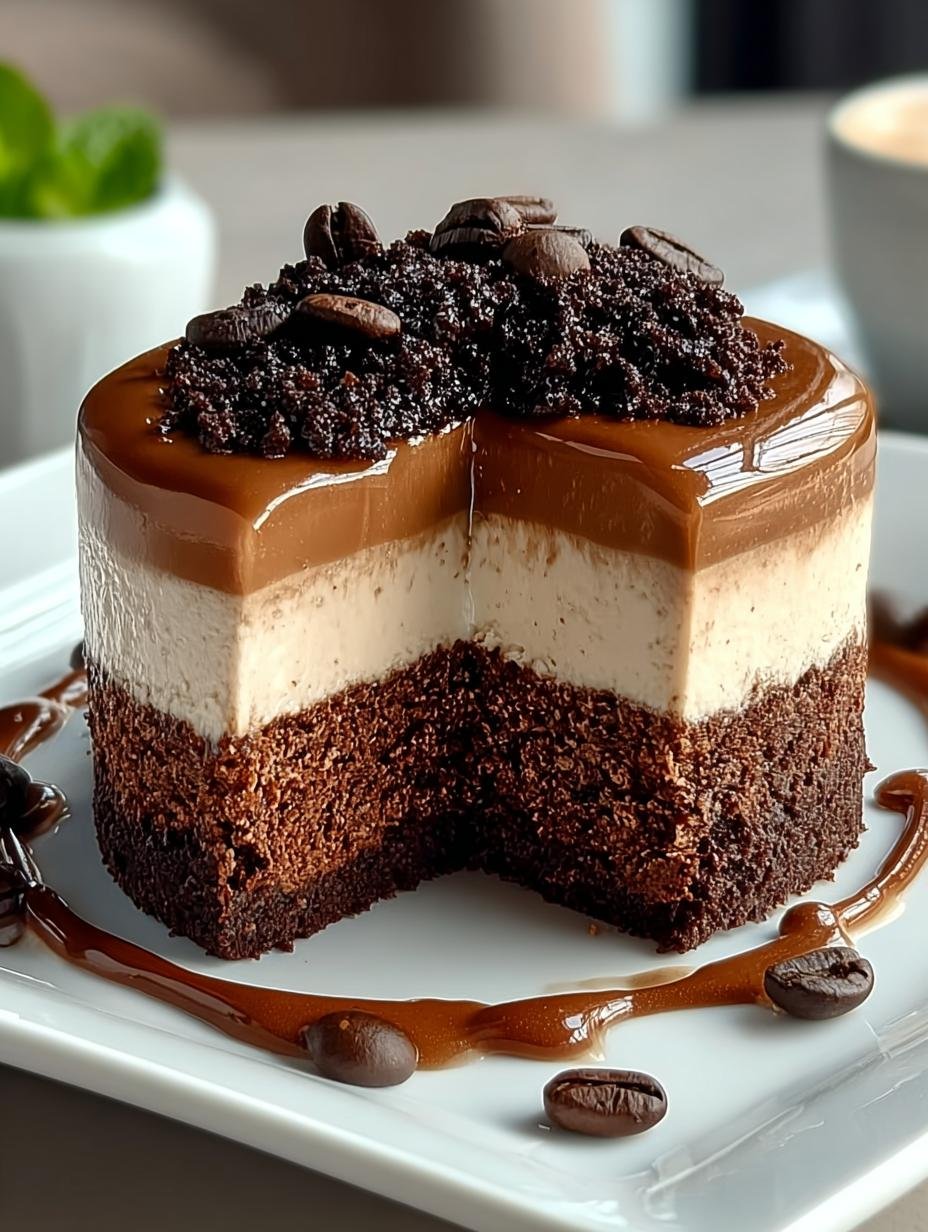
Coffee Brownie Cheesecake is the ultimate dessert for coffee lovers like me, combining rich chocolatey brownies with a creamy coffee cheesecake layer. This decadent delight is perfect for birthdays, celebrations, or any moment that calls for a sweet treat. The harmonious blend of flavors creates a luxurious experience that will leave anyone craving more. Let’s dive into how to make this irresistible dessert!
Why You’ll Love This Coffee Brownie Cheesecake
This Coffee Brownie Cheesecake will quickly become a favorite for many reasons. First, it beautifully marries the rich flavors of chocolate and coffee, creating a dessert that’s both indulgent and comforting. Second, this cheesecake is perfect for special occasions, impressing guests with its stunning layers. Third, it is versatile; whether you enjoy a Mocha Brownie Cheesecake or an Espresso Brownie Cheesecake, this recipe can cater to your preferences. Fourth, it’s not too sweet, balancing the bitterness of coffee with the sweetness of chocolate. Fifth, it’s easy to customize with toppings like whipped cream or chocolate shavings. Finally, it’s suitable for vegetarians, making it accessible for various diets, adding to its charm.
Ingredients for Coffee Brownie Cheesecake
Gather these items:
- 1 cup Unsalted Butter
- 1 cup Granulated Sugar
- 1/2 cup Brown Sugar
- 2 large Eggs
- 1 teaspoon Vanilla Extract
- 1 cup All-Purpose Flour
- 1/2 cup Cocoa Powder
- 1/4 teaspoon Salt
- 1 cup Semi-Sweet Chocolate Chips
- 16 ounces Cream Cheese
- 1 cup Brewed Coffee
- Optional Toppings: whipped cream, chocolate shavings, coffee beans
How to Make Coffee Brownie Cheesecake Step-by-Step
- Step 1: Preheat your oven to 350°F (175°C) and grease a 9-inch springform pan, lining the bottom with parchment paper. Melt unsalted butter in a medium bowl, then mix in granulated sugar and brown sugar until fully combined. Once slightly cooled, add in eggs and vanilla extract. In a separate bowl, whisk together flour, cocoa powder, and salt, then fold these dry ingredients into the wet mixture. Stir in semi-sweet chocolate chips, pour the batter into the prepared pan, and bake for 25-30 minutes, until a toothpick comes out with a few moist crumbs. Cool the brownie base completely before proceeding.
- Step 2: Reduce the oven temperature to 325°F (160°C) for the cheesecake layer. In a large mixing bowl, beat cream cheese until it’s smooth and creamy. Gradually mix in granulated sugar, followed by eggs, vanilla extract, brewed coffee, and flour, ensuring everything is well combined without overmixing. Carefully spread this luscious coffee cheesecake mixture over the cooled brownie base, making sure it’s even. Bake for 50-60 minutes, allowing the edges to firm up while the center remains slightly jiggly for a perfectly creamy finish.
- Step 3: After baking, turn off the oven and leave the cheesecake inside to cool for about 1 hour; this helps prevent cracking. Once cooled, transfer the cheesecake to the refrigerator and allow it to chill for at least 4 hours, though overnight is ideal.
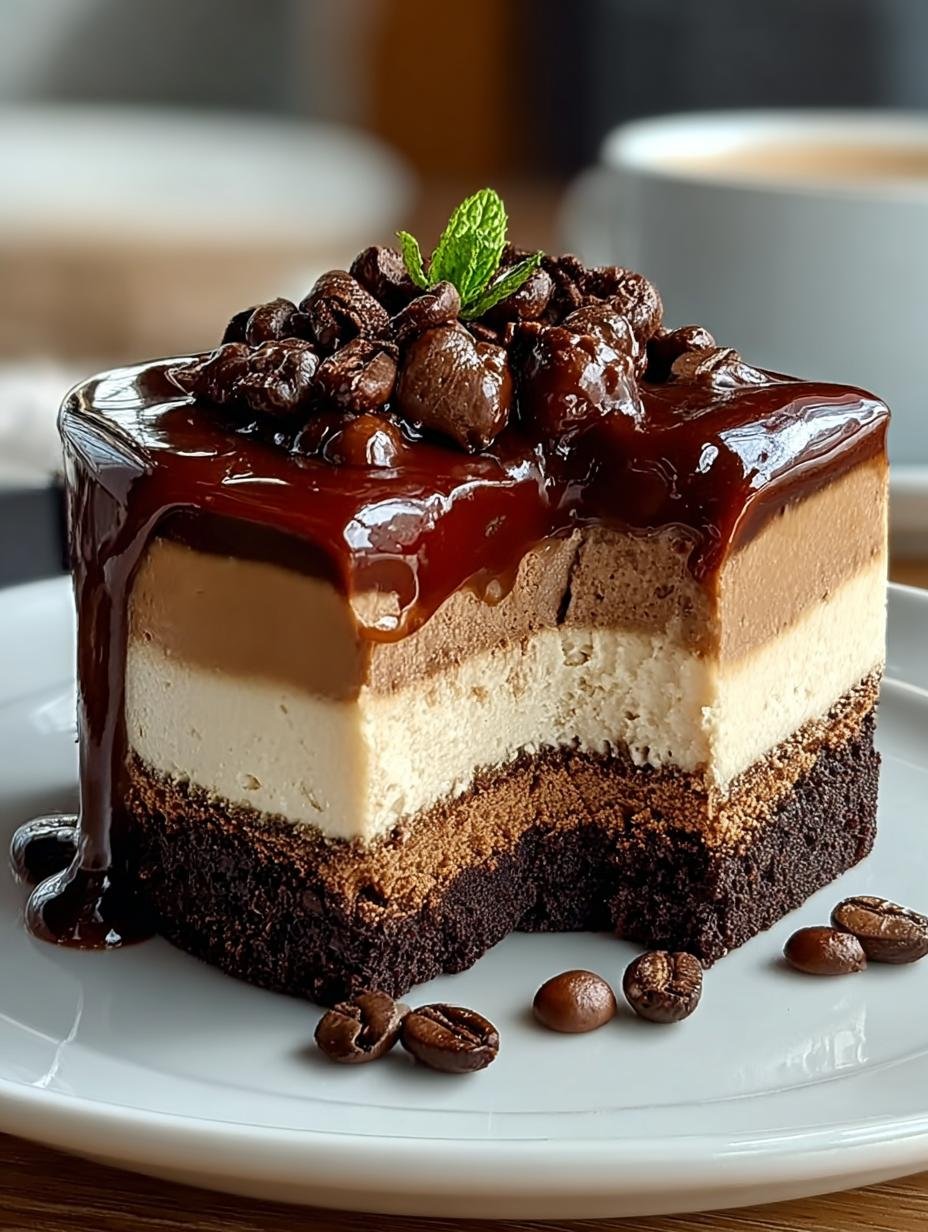
- Step 4: To serve your delightful Coffee Brownie Cheesecake, carefully release it from the springform pan and slice it using a warm, clean knife for smooth edges. Feel free to garnish with whipped cream, chocolate shavings, or even a few coffee beans.
Pro Tips for the Best Coffee Brownie Cheesecake
Keep these in mind:
- Use plant-based butter for a dairy-free option.
- Flax eggs can substitute regular eggs for a vegan version.
- Gluten-free flour can be used for a gluten-sensitive version.
- Dairy-free cream cheese is available for a non-dairy option.
- Allow the cheesecake to chill overnight for the best flavor and texture.
Best Ways to Serve Coffee Brownie Cheesecake
This Coffee Brownie Cheesecake is perfect on its own, but here are some serving ideas:
- Top with whipped cream and a sprinkle of cocoa powder for an elegant touch.
- Serve with fresh berries to add a fruity contrast.
- For a more indulgent experience, drizzle warm chocolate sauce over each slice.
How to Store and Reheat Coffee Brownie Cheesecake
To store your Coffee Brownie Cheesecake, wrap it tightly in plastic wrap and refrigerate. It can last for up to one week. If you’re meal prepping, remember that it tastes even better after a day in the fridge as the flavors meld together. For reheating, simply let it sit at room temperature for 30 minutes before serving, or warm a slice in the microwave for about 10-15 seconds.
Frequently Asked Questions About Coffee Brownie Cheesecake
What’s the secret to perfect Coffee Brownie Cheesecake?
The secret lies in using high-quality ingredients, particularly the coffee and chocolate. This enhances the overall flavor and creates a rich, indulgent experience. Also, taking care with the baking time is crucial to avoid overcooking the cheesecake layer.
Can I make Coffee Brownie Cheesecake ahead of time?
Absolutely! In fact, making the cheesecake a day in advance allows the flavors to develop, creating a richer taste. Just ensure you store it properly in the refrigerator.
How do I avoid common mistakes with Coffee Brownie Cheesecake?
To avoid common mistakes, be careful not to overmix the cheesecake filling, as this can lead to cracks. Also, ensure the brownie base is completely cooled before adding the cheesecake layer to maintain the texture.
Variations of Coffee Brownie Cheesecake You Can Try
There are many ways to customize your Coffee Brownie Cheesecake. Here are some variations:
- Try a Mocha Brownie Cheesecake by adding espresso powder to the brownie mix.
- For a richer flavor, use dark chocolate instead of semi-sweet chocolate chips.
- Create a Chocolate Coffee Cheesecake by mixing in cocoa powder with the cheesecake batter.
- For a fruity twist, add a layer of raspberry or cherry sauce between the brownie and cheesecake layers.
For more dessert ideas, check out our desserts category. If you’re interested in making a cinnamon roll recipe, we have a great one for you. Also, consider trying our berry crumble for a fruity dessert option.
PrintDecadent Coffee Brownie Cheesecake: 12 Irresistible Layers
Decadent Coffee Brownie Cheesecake for Sweet Coffee Lovers
- Prep Time: 60 minutes
- Cook Time: 280 minutes
- Total Time: 340 minutes
- Yield: 12 servings 1x
- Category: Dessert
- Method: Baking
- Cuisine: American
- Diet: Vegetarian
Ingredients
- 1 cup Unsalted Butter
- 1 cup Granulated Sugar
- 1/2 cup Brown Sugar
- 2 large Eggs
- 1 teaspoon Vanilla Extract
- 1 cup All-Purpose Flour
- 1/2 cup Cocoa Powder
- 1/4 teaspoon Salt
- 1 cup Semi-Sweet Chocolate Chips
- 16 ounces Cream Cheese
- 1 cup Brewed Coffee
- Optional Toppings: whipped cream, chocolate shavings, coffee beans
Instructions
- Preheat your oven to 350°F (175°C) and grease a 9-inch springform pan, lining the bottom with parchment paper. Melt unsalted butter in a medium bowl, then mix in granulated and brown sugars until fully combined. Once slightly cooled, add in eggs and vanilla extract. In a separate bowl, whisk together flour, cocoa powder, and salt, then fold these dry ingredients into the wet mixture. Stir in semi-sweet chocolate chips, pour the batter into the prepared pan, and bake for 25-30 minutes, until a toothpick comes out with a few moist crumbs. Cool the brownie base completely before proceeding.
- Reduce the oven temperature to 325°F (160°C) for the cheesecake layer. In a large mixing bowl, beat cream cheese until it’s smooth and creamy. Gradually mix in granulated sugar, followed by eggs, vanilla extract, brewed coffee, and flour, ensuring everything is well combined without overmixing. Carefully spread this luscious coffee cheesecake mixture over the cooled brownie base, making sure it’s even. Bake for 50-60 minutes, allowing the edges to firm up while the center remains slightly jiggly for a perfectly creamy finish.
- After baking, turn off the oven and leave the cheesecake inside to cool for about 1 hour; this helps prevent cracking. Once cooled, transfer the cheesecake to the refrigerator and allow it to chill for at least 4 hours, though overnight is ideal.
- To serve your delightful Coffee Brownie Cheesecake, carefully release it from the springform pan and slice it using a warm, clean knife for smooth edges. Feel free to garnish with whipped cream, chocolate shavings, or even a few coffee beans.
Notes
- Use plant-based butter for a dairy-free option.
- Flax eggs can substitute regular eggs for a vegan version.
- Gluten-free flour can be used for a gluten-sensitive version.
- Dairy-free cream cheese is available for a non-dairy option.
Nutrition
- Serving Size: 1 slice
- Calories: 320
- Sugar: 24 g
- Sodium: 200 mg
- Fat: 16 g
- Saturated Fat: 10 g
- Unsaturated Fat: 4 g
- Trans Fat: 0 g
- Carbohydrates: 40 g
- Fiber: 2 g
- Protein: 4 g
- Cholesterol: 80 mg


Leave a Reply