
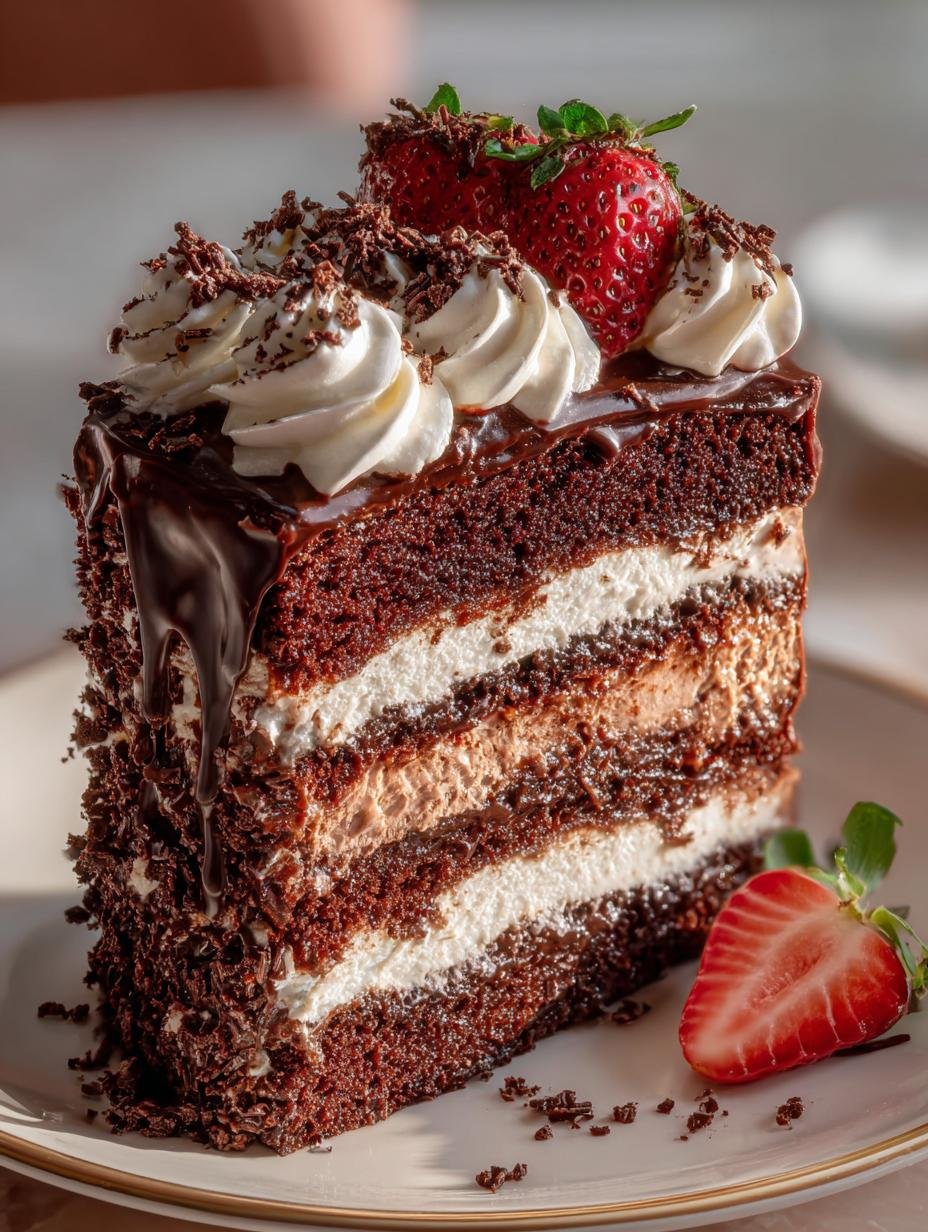
Romantic Calendar Cake is a delightful treat that perfectly captures the essence of love and celebration. This cake is ideal for special occasions such as anniversaries, Valentine’s Day, or any romantic event. Imagine a beautiful heart-shaped cake adorned with lovely decorations, serving as a centerpiece for your celebration. With a rich chocolate flavor and a creamy frosting, this cake is sure to impress your partner and create sweet memories together.
Why You’ll Love This Romantic Calendar Cake
This romantic cake for special occasions offers several reasons to fall in love with it:
- Perfect for celebrations, enhancing the romantic atmosphere.
- Can be customized with personal touches for memorable moments.
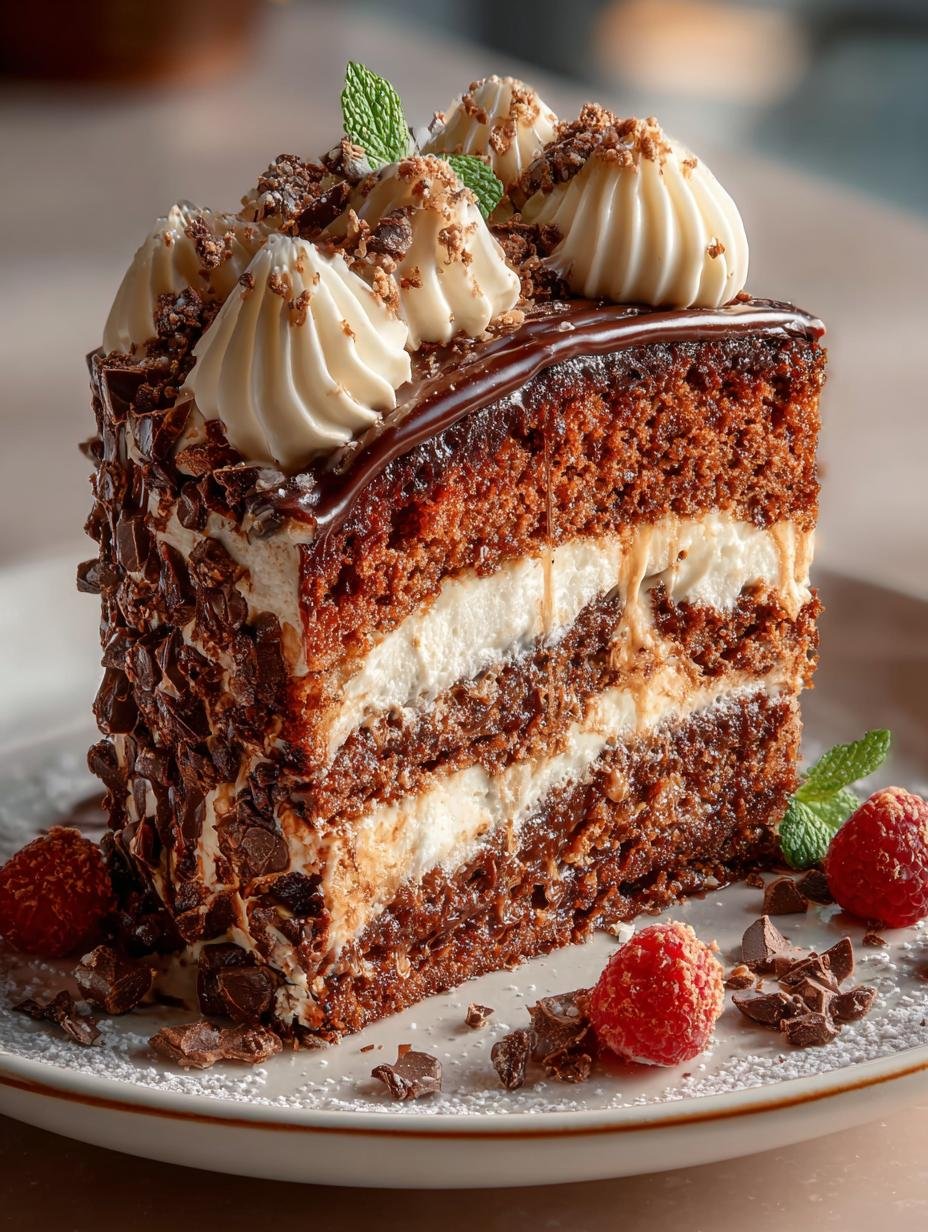
- Deliciously rich chocolate flavor that appeals to all.
- Easy to make, even for beginner bakers.
- Beautiful presentation with various decoration options.
- Great as a love-themed calendar cake to mark anniversaries.
With a preparation time of just 20 minutes and a total time of 55 minutes, this cake is a fantastic choice for busy couples who still want to enjoy baking together. It fits perfectly into the American Dessert category and is vegetarian-friendly.
Ingredients for Romantic Calendar Cake
Gather these items:
- 2 cups all-purpose flour
- 1 ½ cups sugar
- ¾ cup unsalted butter
- 1 cup milk
- 3 large eggs
- 2 tsp baking powder
- 1 tsp vanilla extract
- ½ cup cocoa powder
- 1 cup heavy cream
- ½ cup chocolate chips
How to Make Romantic Calendar Cake Step-by-Step
- Step 1: Preheat your oven to 350°F (175°C).
- Step 2: In a bowl, mix flour, baking powder, and cocoa powder.
- Step 3: In another bowl, cream butter and sugar until light and fluffy.
- Step 4: Add eggs one at a time, then mix in vanilla extract.
- Step 5: Gradually add the dry ingredients to the wet mixture.
- Step 6: Pour in milk and mix until smooth.
- Step 7: Fold in chocolate chips.
- Step 8: Pour the batter into a greased cake pan.
- Step 9: Bake for 30-35 minutes or until a toothpick comes out clean.
- Step 10: Allow cooling before frosting.
- Step 11: Whip heavy cream and frost the cooled cake.
- Step 12: Decorate with chocolate shavings and serve.
Pro Tips for the Best Romantic Calendar Cake
Keep these in mind:
- Ensure your ingredients are at room temperature for the best mixing.
- Use high-quality cocoa powder for richer flavor.
- Don’t overmix the batter; it can lead to a dense cake.
- Consider using a heart-shaped cake pan for a more romantic touch.
- Experiment with different decorations to personalize your cake.
Best Ways to Serve Romantic Calendar Cake
Here are some serving ideas:
- Serve with fresh berries for a vibrant contrast.
- Pair with vanilla ice cream for an indulgent dessert experience.
- Offer a slice as part of a romantic dinner for couples.
How to Store and Reheat Romantic Calendar Cake
To store your cake, place it in an airtight container at room temperature for up to three days. For longer storage, refrigerate it, where it can last for up to a week. If you want to serve it warm, gently reheat slices in the microwave for a few seconds.
Frequently Asked Questions About Romantic Calendar Cake
What’s the secret to perfect Romantic Calendar Cake?
The secret lies in using fresh ingredients and not overmixing the batter. This ensures a light, fluffy texture that will melt in your mouth, making it the best romantic cake for special occasions.
Can I make Romantic Calendar Cake ahead of time?
Absolutely! You can bake the cake a day ahead and store it in the fridge. Just frost it before serving to keep it fresh and appealing.
How do I avoid common mistakes with Romantic Calendar Cake?
Common mistakes include not measuring ingredients accurately and baking for too long. Always check for doneness with a toothpick and follow the instructions closely for the best results.
Variations of Romantic Calendar Cake You Can Try
Here are some creative variations to consider:
- Use a different flavor of frosting, like strawberry or cream cheese, for a unique twist.
- Incorporate seasonal fruits like cherries or raspberries in the batter.
- Create a layered cake using two different flavors of cake for a delightful surprise.
For more delicious dessert ideas, check out our dessert category. If you’re interested in other romantic recipes, consider making Pistachio Pavlova Meringue Cakes or Apple Pie. You can also explore Berry Crumble with Fresh Berries for a delightful twist!
PrintRomantic Calendar Cake: 5 Steps to Create Sweet Memories

A romantic calendar cake perfect for special occasions.
- Prep Time: 20 minutes
- Cook Time: 35 minutes
- Total Time: 55 minutes
- Yield: 8 servings 1x
- Category: Dessert
- Method: Baking
- Cuisine: American
- Diet: Vegetarian
Ingredients
- 2 cups all-purpose flour
- 1 ½ cups sugar
- ¾ cup unsalted butter
- 1 cup milk
- 3 large eggs
- 2 tsp baking powder
- 1 tsp vanilla extract
- ½ cup cocoa powder
- 1 cup heavy cream
- ½ cup chocolate chips
Instructions
- Preheat your oven to 350°F (175°C).
- In a bowl, mix flour, baking powder, and cocoa powder.
- In another bowl, cream butter and sugar until light.
- Add eggs one at a time, then mix in vanilla.
- Gradually add dry ingredients to the wet mixture.
- Pour in milk and mix until smooth.
- Fold in chocolate chips.
- Pour batter into a greased cake pan.
- Bake for 30-35 minutes or until a toothpick comes out clean.
- Allow to cool before frosting.
- Whip heavy cream and frost the cooled cake.
- Decorate with chocolate shavings and serve.
Notes
Nutrition
- Serving Size: 1 slice
- Calories: 350 calories
- Sugar: 25g
- Sodium: 200mg
- Fat: 18g
- Saturated Fat: 10g
- Unsaturated Fat: 6g
- Trans Fat: 0g
- Carbohydrates: 45g
- Fiber: 2g
- Protein: 5g
- Cholesterol: 100mg


Leave a Reply