
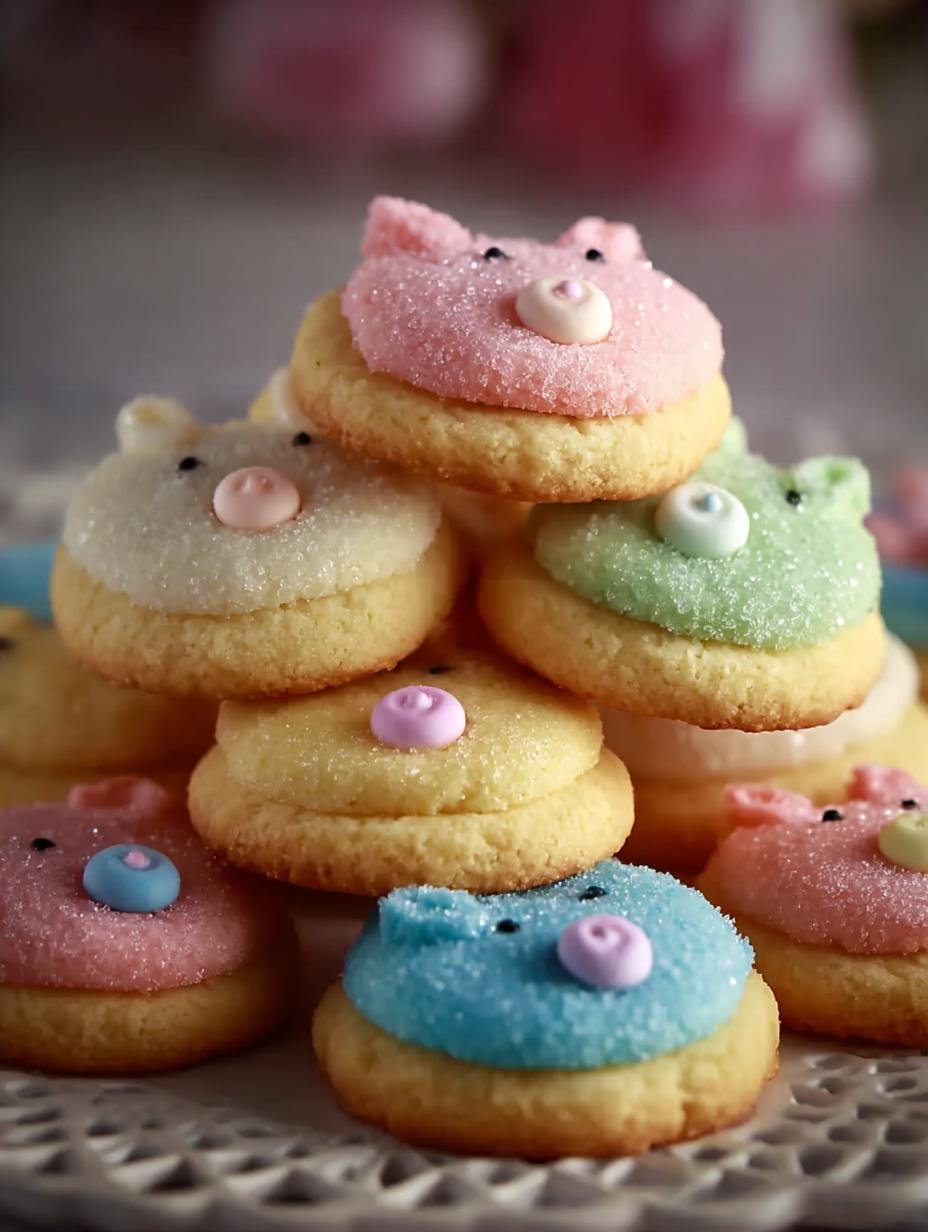
Easter Bunny Button Cookies are the perfect festive treat to celebrate spring! These delightful cookies are buttery, pastel-colored, and topped with cheerful chocolate centers, making them an ideal addition to your Easter celebrations. Whether you’re filling Easter baskets or preparing a dessert table, these bunny-shaped cookies are sure to bring smiles. Let’s dive into how to make these adorable treats!
Why You’ll Love This Easter Bunny Button Cookies
There are plenty of reasons to adore these Easter Bunny Cookies. First, they are incredibly easy to make, perfect for both novice and seasoned bakers. Second, the pastel colors make them visually appealing, ensuring they catch the eye on any holiday dessert table. Third, they provide a fun and interactive baking experience for kids, making them a hit among families. Fourth, these cookies are soft and chewy, offering a delightful texture. Fifth, they can be customized with different colored candies or sprinkles, allowing for unique designs. Lastly, they fit the theme of Easter Bunny Themed Treats, making them a must-have for the holiday.

Ingredients for Easter Bunny Button Cookies
Gather these items:
- 1 cup (226g) unsalted butter, softened
- ¾ cup (150g) granulated sugar
- 1 large egg
- 1 teaspoon vanilla extract
- 2 ¼ cups (280g) all-purpose flour
- ½ teaspoon baking powder
- ¼ teaspoon salt
- 24 pastel chocolate candies (M&M-style or chocolate buttons)
- Optional: Pastel food coloring
- Optional: Spring sprinkles
How to Make Easter Bunny Button Cookies Step-by-Step
- Step 1: Cream butter and sugar until light and fluffy. Add egg and vanilla extract and mix until fully combined.
- Step 2: In a separate bowl, whisk together flour, baking powder, and salt. Gradually add to the wet mixture and mix until a soft dough forms. Tint portions with pastel food coloring if desired.
- Step 3: Preheat oven to 350°F (175°C). Line baking sheets with parchment paper. Roll dough into small balls and place on prepared sheets. Lightly flatten and press an indentation in the center using a wooden spoon handle.
- Step 4: Bake for 10–12 minutes until edges are lightly golden and centers remain soft.
- Step 5: Immediately press a pastel chocolate candy into the center of each cookie while still warm.
- Step 6: Allow cookies to cool completely before transferring to a rack or storing.
Pro Tips for the Perfect Easter Bunny Button Cookies
Keep these in mind:
- Store cookies in an airtight container for freshness.
- Customize with different colored candies or sprinkles.
- For a unique touch, try adding flavored extracts such as almond or coconut to the dough.
- Ensure your butter is at room temperature for easy creaming.
Best Ways to Serve Easter Bunny Button Cookies
These cookies are versatile and can be served in various ways. First, they make a delightful addition to any Easter basket. Second, they can be arranged on a colorful platter for a festive cookie display at get-togethers. Lastly, pair them with a glass of milk or a cup of tea for a cozy afternoon treat.
How to Store and Reheat Easter Bunny Button Cookies
Allow cookies to cool completely before storing them in an airtight container. They will stay fresh for about a week. If you want to enjoy them warm, simply microwave them for a few seconds.
Frequently Asked Questions About Easter Bunny Button Cookies
What’s the secret to perfect Easter Bunny Button Cookies?
The secret lies in creaming the butter and sugar until light and fluffy, as this incorporates air into the dough, ensuring soft, chewy cookies.
Can I make Easter Bunny Button Cookies ahead of time?
Absolutely! You can make the dough in advance and refrigerate it for up to a week. Just roll and bake when you’re ready!
How do I avoid common mistakes with Easter Bunny Button Cookies?
To avoid common pitfalls, ensure your measurements are precise and don’t overbake the cookies. They should be soft in the center when you take them out of the oven.
Variations of Easter Bunny Button Cookies You Can Try
Feel free to experiment with these variations: Use different flavored extracts, incorporate colorful icing, or make decorated Easter Cookies by adding more pastel colors. You can also try making Bunny Shaped Cookies by using a cookie cutter instead of rolling them into balls for a fun twist!
For more delicious recipes, check out Pistachio Pavlova Meringue Cakes or Easy Cinnamon Rolls. If you’re interested in more baking tips, visit The Joy of Vegetable Gardening.
Enjoy your baking adventure with these delightful cookies!
PrintAdorable Easter Bunny Button Cookies for Spring Joy

Easter Bunny Button Cookies are buttery, pastel-colored spring treats topped with cheerful chocolate centers. These soft, festive cookies are shaped like buttons and decorated with pastel candies, making them perfect for Easter baskets, cookie tins, and holiday dessert tables.
- Prep Time: 15 minutes
- Cook Time: 12 minutes
- Total Time: 27 minutes
- Yield: 24 cookies 1x
- Category: Dessert
- Method: Baking
- Cuisine: American
- Diet: Vegetarian
Ingredients
- 1 cup (226g) unsalted butter, softened
- ¾ cup (150g) granulated sugar
- 1 large egg
- 1 teaspoon vanilla extract
- 2 ¼ cups (280g) all-purpose flour
- ½ teaspoon baking powder
- ¼ teaspoon salt
- 24 pastel chocolate candies (M&M-style or chocolate buttons)
- Optional: Pastel food coloring
- Optional: Spring sprinkles
Instructions
- Cream butter and sugar until light and fluffy. Add egg and vanilla extract and mix until fully combined.
- In a separate bowl, whisk together flour, baking powder, and salt. Gradually add to the wet mixture and mix until a soft dough forms. Tint portions with pastel food coloring if desired.
- Preheat oven to 350°F (175°C). Line baking sheets with parchment paper. Roll dough into small balls and place on prepared sheets. Lightly flatten and press an indentation in the center using a wooden spoon handle.
- Bake for 10–12 minutes until edges are lightly golden and centers remain soft.
- Immediately press a pastel chocolate candy into the center of each cookie while still warm.
- Allow cookies to cool completely before transferring to a rack or storing.
Notes
- Store cookies in an airtight container for freshness.
- Customize with different colored candies or sprinkles.
Nutrition
- Serving Size: 1 cookie
- Calories: 150
- Sugar: 8g
- Sodium: 50mg
- Fat: 7g
- Saturated Fat: 4g
- Unsaturated Fat: 2g
- Trans Fat: 0g
- Carbohydrates: 20g
- Fiber: 0g
- Protein: 1g
- Cholesterol: 30mg


Leave a Reply