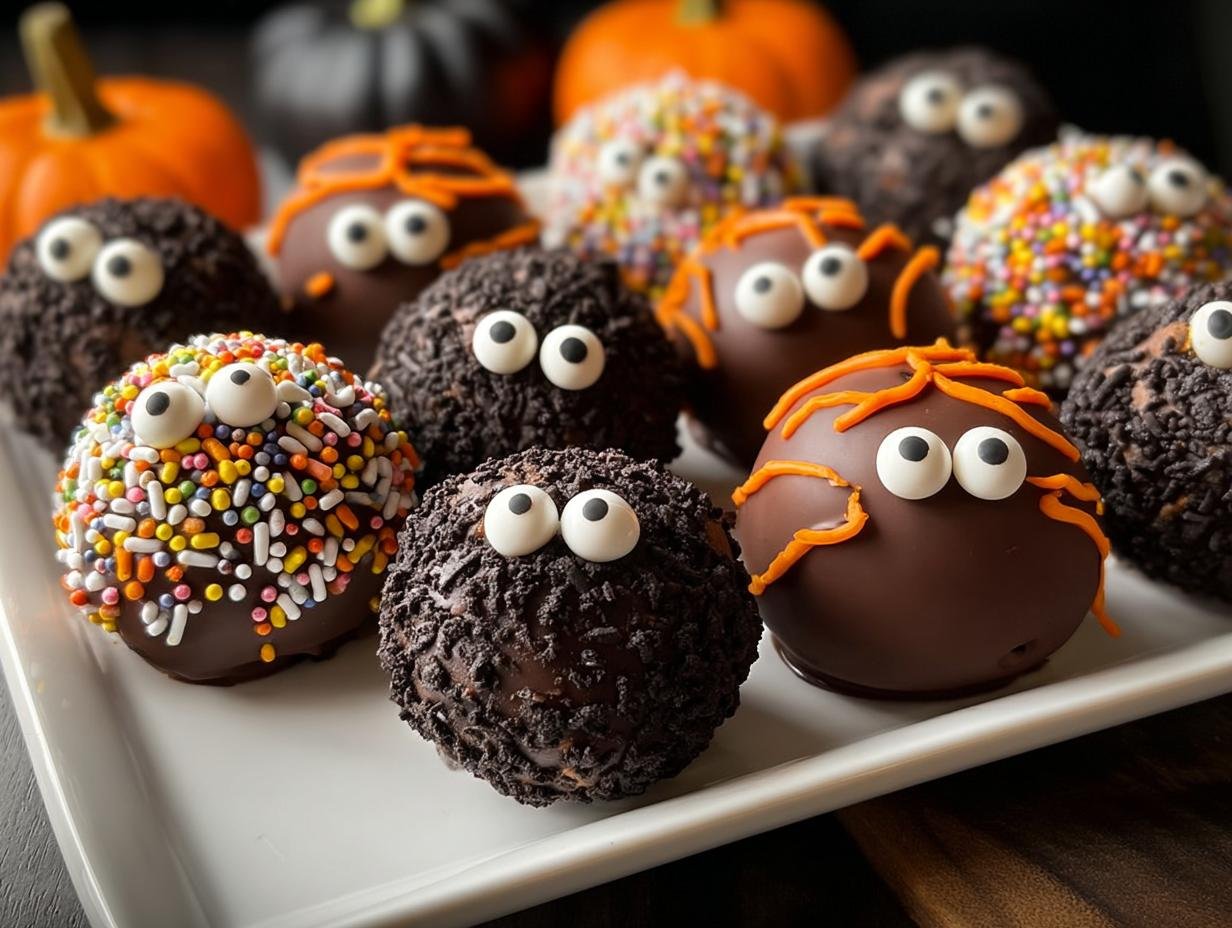
Halloween Oreo balls have become my absolute favorite way to kick off the spooky season. I remember one year, my little niece was obsessed with ghosts, and I desperately wanted to make a fun treat for her class party. That’s when I stumbled upon this incredibly easy Halloween treats recipe! The satisfaction of seeing her little face light up when she saw these adorable, coated balls was priceless. The sweet, creamy center combined with the crisp chocolate shell is just divine. They’re truly some of the best fun Halloween no-bake treats you can whip up. Let’s get cooking!
Why You’ll Love This Halloween Oreo Balls Recipe
You’re going to adore making and serving these festive little delights. They’re perfect for any occasion leading up to and on Halloween night!
- Incredible Taste: The combination of rich chocolate and creamy, sweet Oreo filling is pure magic.
- Super Quick Prep: With just 15 minutes of prep time, these are the definition of easy Halloween treats.
- No-Bake Convenience: As delicious no-bake Oreo balls, you don’t even need to turn on the oven, making them perfect for any time.
- Budget-Friendly Fun: Using simple pantry staples, these treats won’t break the bank, making them a great option for parties.
- Family-Friendly Activity: Kids absolutely love helping to roll and decorate these no-bake Oreo balls, making it a fun family project.
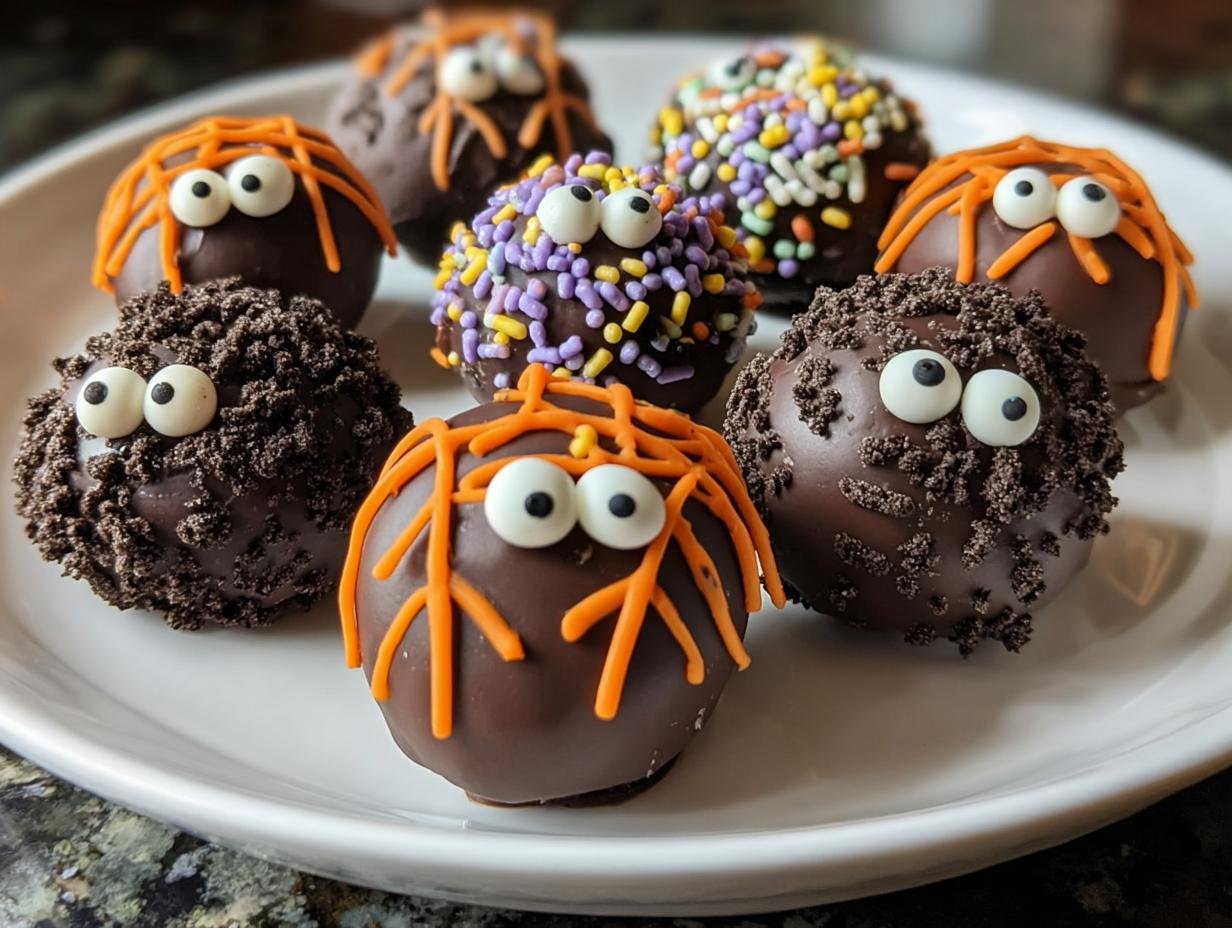
- Versatile Decorations: Easily customize them with sprinkles, candy eyes, or drizzles to match any Halloween theme.
- Crowd-Pleasing Dessert: They’re always a hit at parties and potlucks, disappearing fast!
Ingredients for Spooky Oreo Balls
Gathering your ingredients is the first step towards making these delightful Oreo cookie ball Halloween treats. You’ll find that the magic of these no-bake wonders comes from just a few simple items, making them incredibly accessible.
- 1 package (14.3 oz) Oreo cookies – These form the base, providing that classic chocolatey flavor and texture.
- 1 package (8 oz) cream cheese, softened – This is the binder that makes the cookie crumbs stick together, creating a creamy, dough-like consistency. Make sure it’s softened so it mixes easily.
- 2 cups semi-sweet chocolate chips – For coating the balls. This creates a delicious shell that hardens perfectly.
- 1 tbsp vegetable oil – Adding this to the chocolate chips helps them melt smoothly and creates a thinner coating that’s easier to dip.
- Halloween sprinkles (optional) – To add festive color and crunch!
- Candy eyes (optional) – Perfect for making little ghost or monster faces.
How to Make Halloween Oreo Balls
Creating these festive treats is surprisingly simple, even if you’re new to no-bake desserts. You’ll be amazed at how quickly these come together, making them the perfect last-minute addition to your party spread. Follow these steps for perfectly formed and deliciously coated Halloween Oreo balls!
- Step 1: Start by crushing your Oreo cookies into fine crumbs. You can use a food processor for a super-fine texture, or place them in a sturdy ziplock bag and go at them with a rolling pin until they’re powdery. This is the base for your delicious no-bake Oreo balls.
- Step 2: In a medium bowl, combine the finely crushed Oreo crumbs with the softened cream cheese. Mix them thoroughly with a spoon or your hands until you have a thick, dough-like consistency. It should hold together when you squeeze it.
- Step 3: Scoop about a tablespoon of the Oreo mixture. Roll it firmly between your palms to form smooth, 1-inch balls. You should get around 24 balls from this recipe. Place these formed balls onto a baking sheet lined with parchment paper.
- Step 4: Once all the balls are rolled, place the baking sheet in the freezer for at least 30 minutes. This step is crucial for firming them up, which makes them much easier to dip in chocolate without falling apart.
- Step 5: While the balls are chilling, prepare your chocolate coating. In a microwave-safe bowl, combine the semi-sweet chocolate chips and vegetable oil. Microwave in 30-second intervals, stirring well after each burst, until the chocolate is completely smooth and melted. Be careful not to overheat it!
- Step 6: Take your chilled Oreo balls out of the freezer. Dip each one into the melted chocolate using a fork or a dipping tool. Ensure it’s fully coated, then lift it out and let any excess chocolate drip back into the bowl. This ensures a nice, even coating for your easy Halloween treats.
- Step 7: Immediately after dipping, while the chocolate is still wet, add your festive decorations. This is where you can get creative with Halloween sprinkles or quickly place candy eyes to make little ghosts or monsters. Place the decorated balls back onto the parchment-lined baking sheet. Let the chocolate harden completely, which usually takes about 10 minutes at room temperature or in the fridge.
Pro Tips for the Best Halloween Oreo Balls
I’ve made these spooky delights more times than I can count, and I’ve picked up a few tricks along the way to ensure they turn out perfectly every single time. These little tips will elevate your Halloween Oreo balls from good to absolutely spectacular!
- Chill is Key: Always freeze the rolled balls for at least 30 minutes before dipping. This prevents them from melting or losing their shape in the warm chocolate.
- Smooth Chocolate Coating: Adding a little oil to your chocolate chips before melting helps achieve a smoother, thinner coating that’s easier to work with and sets beautifully.
- Work Quickly with Decorations: Have your sprinkles and candy eyes ready to go right after dipping. The chocolate sets fast, and you want your decorations to stick!
What’s the secret to perfect Halloween Oreo Balls?
The secret lies in the texture of the crumb mixture and proper chilling. Ensure your cream cheese is fully softened for easy mixing, and don’t skip the freezing step before dipping for perfectly shaped festive Oreo balls for Halloween. For more tips on baking, check out these baking elements.
Can I make Halloween Oreo Balls ahead of time?
Absolutely! You can make the undipped Oreo balls up to a week in advance and store them in an airtight container in the refrigerator. Dip them just before serving for the freshest look and taste.
How do I avoid common mistakes with Halloween Oreo Balls?
A common pitfall is the mixture being too sticky; if this happens, add a few more Oreo crumbs. Also, don’t overheat your chocolate, as it can seize up. Work in short bursts and stir frequently. Understanding how to properly melt chocolate is key, and you can find more information on techniques for melting chocolate.
Best Ways to Serve Halloween Oreo Balls
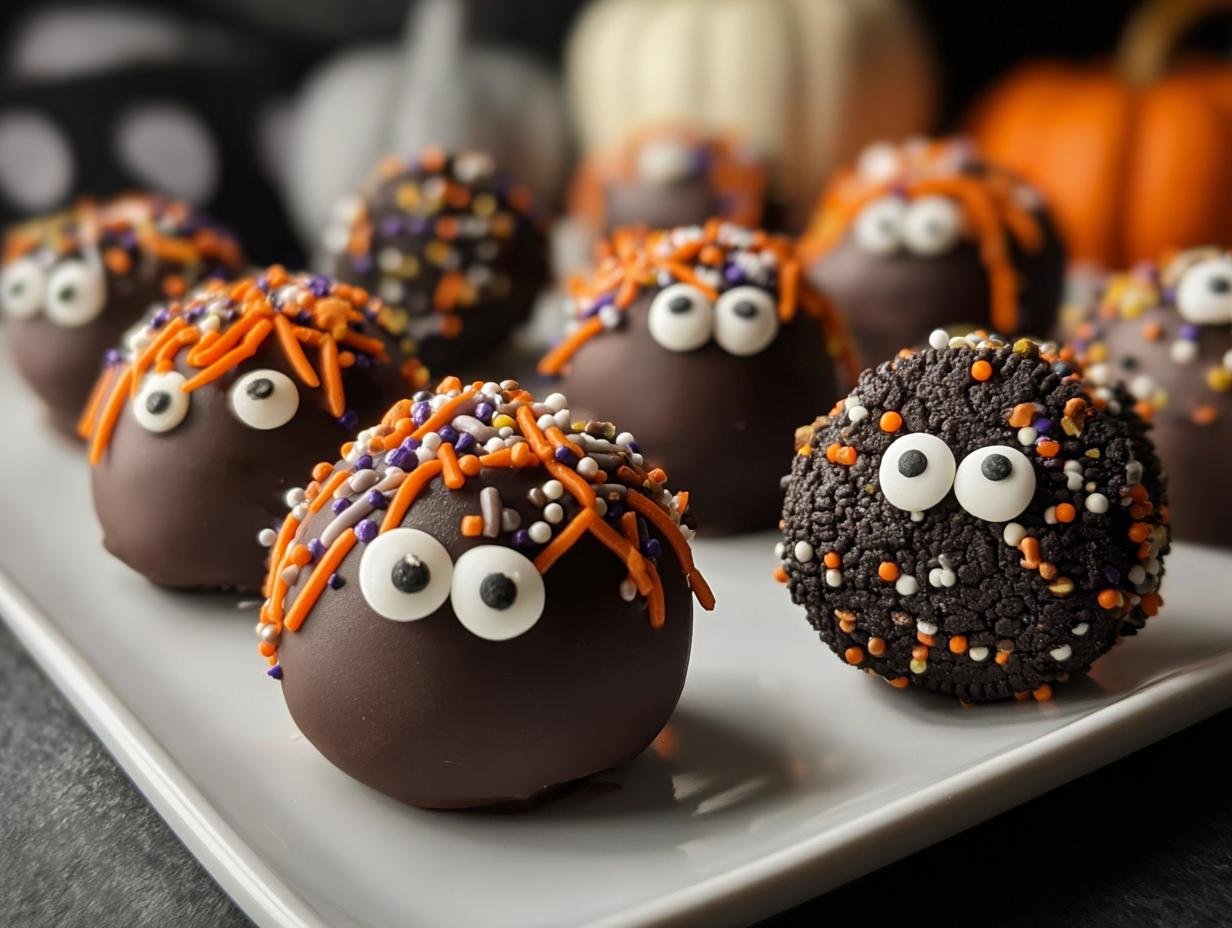
These delightful little treats are so versatile and perfect for any Halloween gathering. They truly shine as part of a larger spread, making them ideal for a festive Halloween party Oreo balls display. Imagine them nestled amongst other spooky goodies on a tiered stand – they add such a fun, homemade touch!
- As Part of a Dessert Board: Arrange these festive Oreo balls alongside cookies, cupcakes, and other Halloween-themed treats. They look fantastic next to mini pumpkin pies or ghost-shaped shortbread.
- With Complementary Sides: Serve them with a spooky punch or a warm apple cider for a complete Halloween experience. They also pair wonderfully with other chocolate treats or even a cheese board if you’re looking for a sweet and savory mix.
- Individual Treat Bags: Package a few of these delicious Oreo truffles in small cellophane bags tied with Halloween ribbon. They make perfect party favors for guests to take home.
Nutrition Facts for Halloween Oreo Balls
When enjoying these delightful Halloween Oreo balls, it’s helpful to know their estimated nutritional breakdown per serving. These figures are based on the recipe as written and can vary slightly based on specific brands and ingredient amounts used in your own kitchen.
- Serving Size: 1 ball
- Calories: 120
- Fat: 7g
- Saturated Fat: 3g
- Protein: 2g
- Carbohydrates: 12g
- Fiber: 1g
- Sugar: 9g
- Sodium: 80mg
Nutritional values are estimates and may vary based on specific ingredients used.
How to Store and Reheat Halloween Oreo Balls
Properly storing your festive Halloween Oreo treats ensures they stay delicious for your guests or for later enjoyment. Once your adorable Halloween Oreo balls have fully cooled after dipping, it’s time to think about storage. For the best quality and taste, I recommend keeping them in an airtight container. This prevents them from drying out or absorbing any unwanted odors from the refrigerator. For more on food storage, consider these storage tips.
You can store these delightful Halloween Oreo balls in the refrigerator for about 3 to 4 days. They’ll maintain their perfect texture and flavor during this time. If you find yourself with a surplus, or you want to get a head start on holiday baking, these no-bake wonders freeze beautifully! Place them in a freezer-safe container or a heavy-duty freezer bag, and they’ll keep well for up to 3 months. There’s no need for reheating; simply let them thaw in the refrigerator overnight before serving.
Frequently Asked Questions About Halloween Oreo Balls
Can I use different types of Oreos for Halloween Oreo Balls?
Absolutely! While classic chocolate Oreos are fantastic, you can get creative. Golden Oreos are perfect for making ghost-shaped Halloween Oreo balls as they provide a lighter base. Red velvet Oreos can also add a spooky color twist. Experimenting with different flavors is part of the fun! For other dessert ideas, check out these dessert recipes.
How do I make my Halloween Oreo Balls look extra spooky?
Decorations are key! Dip them in colored candy melts (orange, purple, green) or white chocolate. Use candy eyes for a classic monster or ghost look. You can also pipe on spooky details with edible markers or melted chocolate, like spiderwebs or jagged mouths. Edible glitter adds a magical touch to any Halloween Oreo balls.
Are Halloween Oreo Balls safe for kids to make?
Yes, these are wonderfully kid-friendly! The crushing of Oreos (with supervision) and rolling the balls are activities young children can easily participate in. Decorating is also a fantastic hands-on project for kids Halloween Oreo balls. Just ensure adult supervision for any melting or hot processes.
What if my Oreo ball mixture is too crumbly?
If your mixture feels too dry and crumbly to roll, it likely needs a bit more moisture. Add the cream cheese tablespoon by tablespoon, mixing well after each addition, until it holds together. This can happen if your cream cheese wasn’t fully softened or if your Oreo crumbs are extra dry.
Variations of Halloween Oreo Balls You Can Try
Once you’ve mastered the basic Halloween Oreo balls recipe, feel free to get creative! There are so many fun ways to switch up this simple dessert to suit different tastes and occasions. These variations keep the beloved creamy center while adding exciting new twists.
- Ghostly White Chocolate: For a classic ghost effect, use Golden Oreos as your base and coat the chilled balls in white candy melts or white chocolate. Add candy eyes once set. This makes for a charming and spooky Oreo balls recipe.
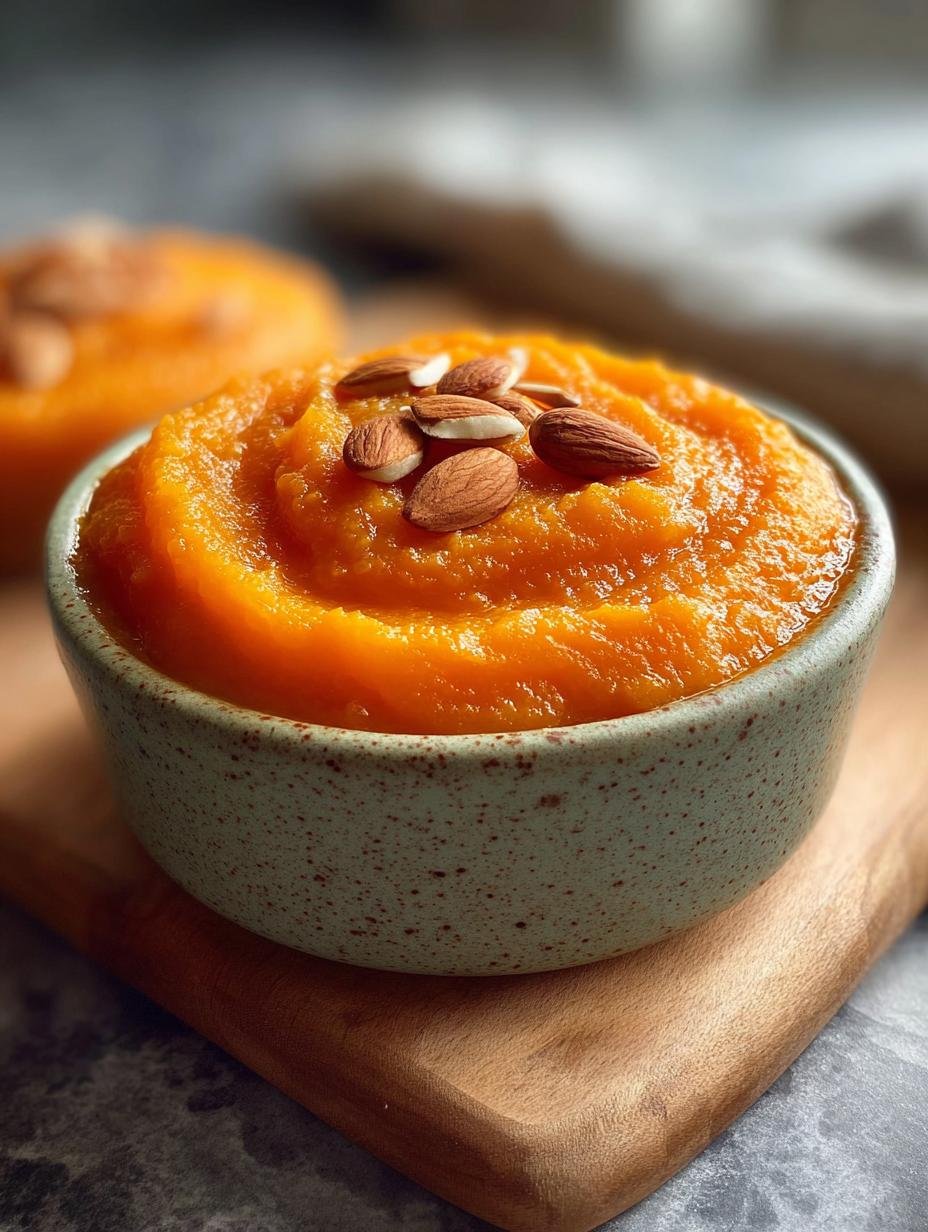
- Pumpkin Spice Delight: Add a teaspoon of pumpkin pie spice and a pinch of cinnamon to the Oreo crumb and cream cheese mixture before rolling. Coat with orange candy melts for a perfect pumpkin look.
- Dark Chocolate Raspberry: Mix a tablespoon of raspberry jam into the cream cheese mixture for a fruity surprise. Dip these in dark chocolate for a sophisticated flavor profile.
- Vegan Option: Use vegan Oreos and a dairy-free cream cheese alternative. For the coating, opt for vegan dark chocolate or colored candy melts.
Easy Halloween Oreo Balls: Terrific 15-Minute Treat

Create adorable and delicious Halloween Oreo Balls with this easy no-bake recipe. Perfect for spooky parties and festive treats, these chocolate-coated delights are a fun way to celebrate the season.
- Prep Time: 15 minutes
- Cook Time: 10 minutes
- Total Time: 55 minutes
- Yield: 24 balls 1x
- Category: Dessert
- Method: No-Bake
- Cuisine: American
- Diet: Vegetarian
Ingredients
- 1 package (14.3 oz) Oreo cookies
- 1 package (8 oz) cream cheese, softened
- 2 cups semi-sweet chocolate chips
- 1 tbsp vegetable oil
- Halloween sprinkles (optional)
- Candy eyes (optional)
Instructions
- Crush Oreos into fine crumbs using a food processor or a ziplock bag and rolling pin.
- In a bowl, mix Oreo crumbs with softened cream cheese until fully combined into a thick dough.
- Scoop about a tablespoon of the mixture and roll it between your palms to form 1-inch balls. Place the balls on a parchment-lined baking sheet.
- Freeze the Oreo balls for 30 minutes to firm them up.
- Melt semi-sweet chocolate chips with vegetable oil in a microwave-safe bowl using 30-second bursts, stirring in between, until smooth.
- Dip each frozen ball into the melted chocolate, coating evenly. Let excess chocolate drip off.
- Immediately add Halloween sprinkles or candy eyes before the chocolate sets. Place decorated balls back on the parchment paper and let the chocolate harden at room temperature or in the fridge for 10 minutes.
Notes
- For a spooky white appearance, use white chocolate coating.
- Store Halloween Oreo balls in an airtight container in the refrigerator for up to a week.
- Undipped Oreo balls can be frozen for up to 3 months.
- If using candy melts instead of chocolate chips, you can skip the oil.
- Golden Oreos can be used for a lighter-colored base, perfect for ghost decorations.
Nutrition
- Serving Size: 1 ball
- Calories: 120
- Sugar: 9g
- Sodium: 80mg
- Fat: 7g
- Saturated Fat: 3g
- Unsaturated Fat: 3g
- Trans Fat: 0g
- Carbohydrates: 12g
- Fiber: 1g
- Protein: 2g
- Cholesterol: 5mg


Leave a Reply