
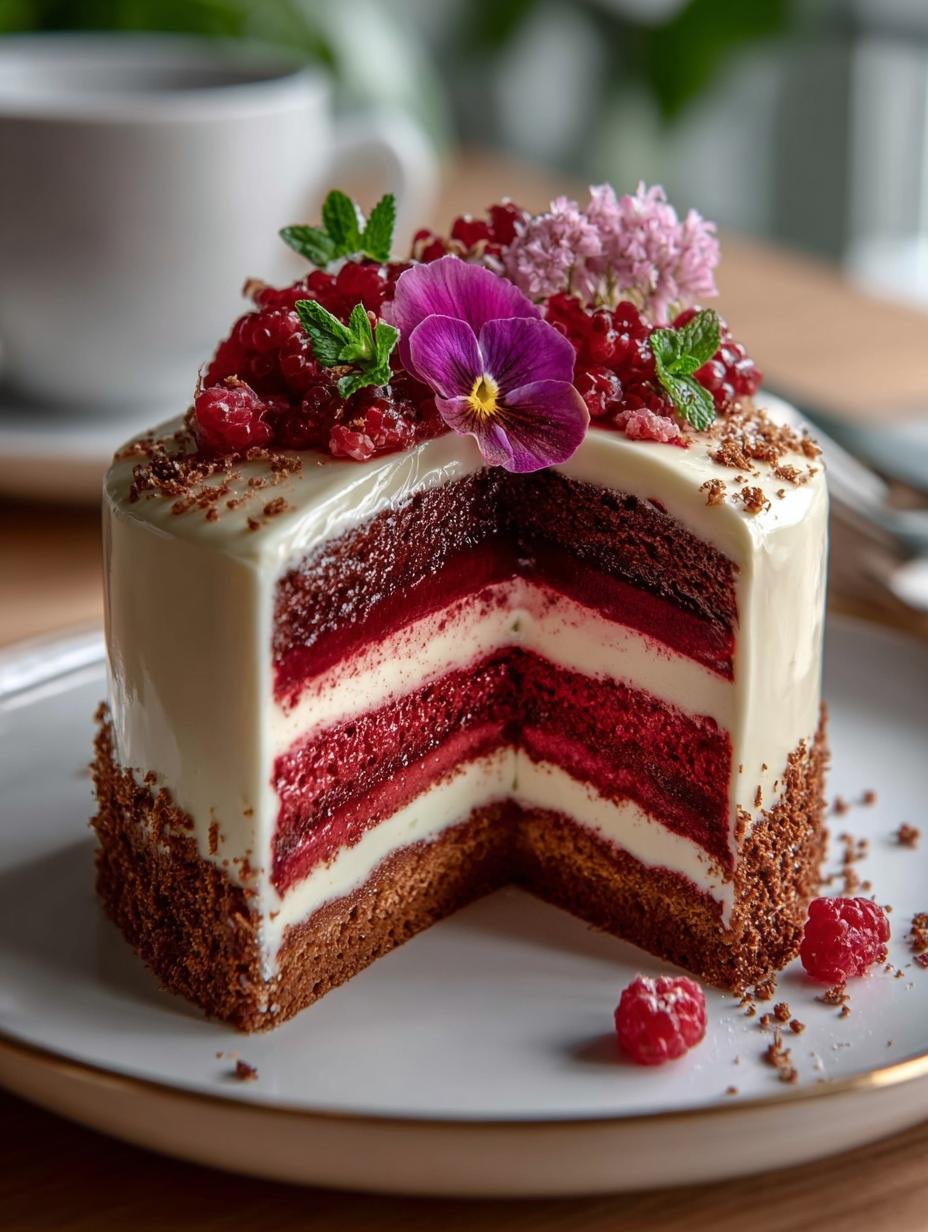
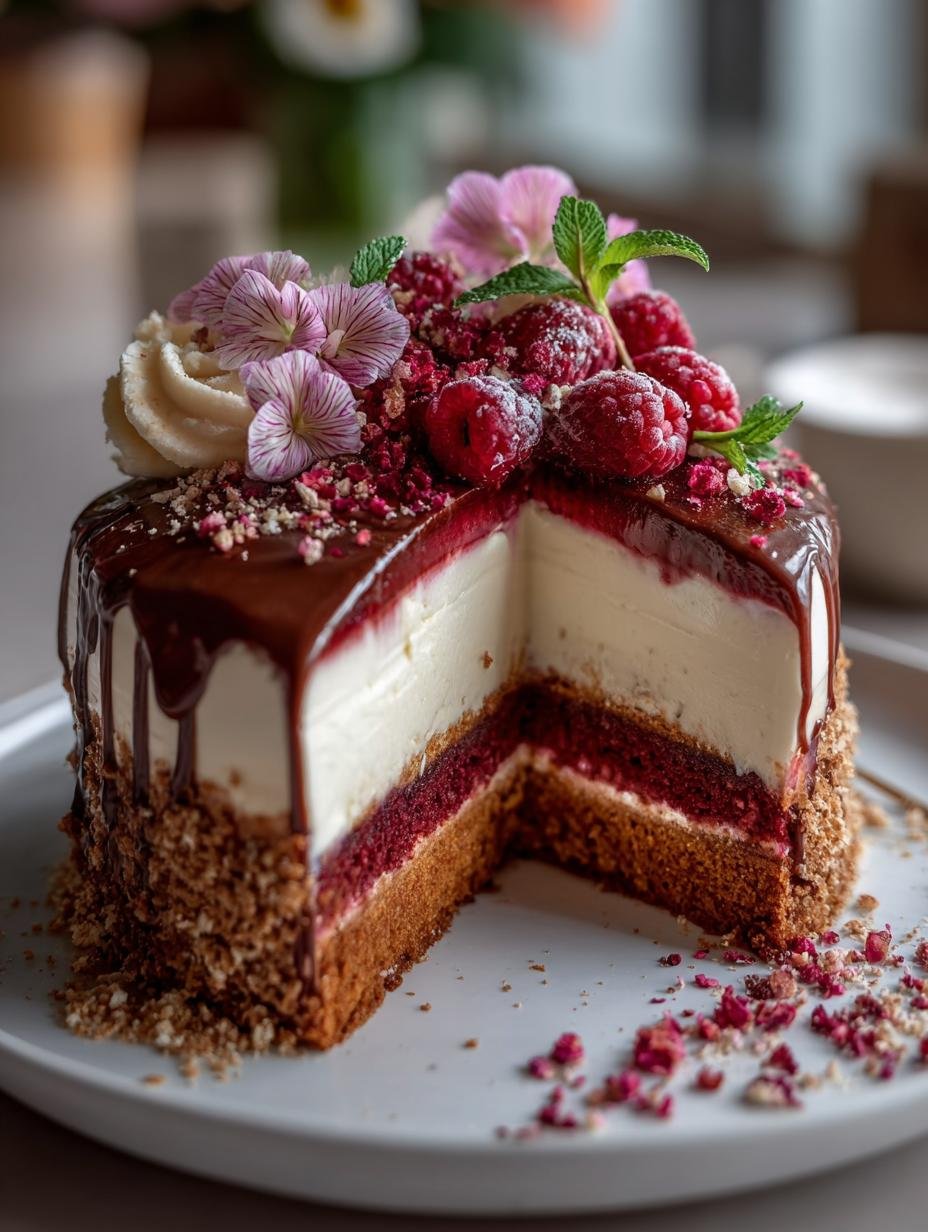
Romantic Calendar Cake Design is an enchanting creation that captures the essence of love and celebration. This beautiful cake design is perfect for romantic occasions, making it a delightful centerpiece for anniversaries, birthdays, or intimate dinners. With its vibrant red hue and elegant decorations, this cake is sure to impress your loved ones and create unforgettable memories. Let’s dive into this heartfelt recipe and make a cake that speaks volumes of affection!
Why You’ll Love This Romantic Calendar Cake Design
This cake is not just a treat for the taste buds; it’s a feast for the eyes too! Here are a few reasons to adore this cake design for romantic occasions:
- Visually stunning with a love-themed cake decoration.
- Perfect for any romantic event including anniversaries and Valentine’s Day.
- Customizable with seasonal romantic cake ideas and decorations.
- Great for sharing with friends and family at special gatherings.
- Easy to make, with simple ingredients and a step-by-step guide.
- It brings out the baker in you, allowing creativity with heart-shaped cake designs.
This cake is not only vegetarian-friendly but also embodies an elegant American cuisine style, making it accessible for all to enjoy.
Ingredients for Romantic Calendar Cake Design
Gather these items:
- 2 cups all-purpose flour
- 1 ½ cups sugar
- 1 cup unsalted butter
- 4 large eggs
- 1 cup milk
- 2 tsp vanilla extract
- 1 ½ tsp baking powder
- ½ tsp salt
- Red food coloring
- Fondant for decoration
- Edible flowers
How to Make Romantic Calendar Cake Design Step-by-Step
- Step 1: Preheat the oven to 350°F (175°C).
- Step 2: Grease and flour two 9-inch round cake pans.
- Step 3: In a bowl, cream together butter and sugar.
- Step 4: Add eggs one at a time, mixing well after each.
- Step 5: Stir in milk and vanilla extract.
- Step 6: In a separate bowl, mix flour, baking powder, and salt.
- Step 7: Gradually combine dry ingredients with wet mixture.
- Step 8: Divide the batter and add red food coloring to one half.
- Step 9: Pour the batter into prepared pans and bake for 25-30 minutes.
- Step 10: Let the cakes cool before removing from pans.
- Step 11: Layer the cakes with frosting and cover with fondant.
- Step 12: Decorate with edible flowers to finish.
This step-by-step guide ensures you not only create a delicious cake but also learn how to decorate a cake for a date night or any romantic event.
Pro Tips for the Best Romantic Calendar Cake Design
Keep these in mind:
- Use high-quality butter for a richer flavor.
- Ensure your eggs and milk are at room temperature for better mixing.
- Experiment with different edible flower decorations for a unique look.
- Consider adding a layer of jam between the cake layers for added flavor.
Best Ways to Serve Romantic Calendar Cake Design
For an unforgettable experience:
- Serve with a scoop of vanilla ice cream for a delightful contrast.
- Pair it with fresh berries for a pop of color and flavor.
- Consider a drizzle of chocolate sauce for an extra touch of elegance.
How to Store and Reheat Romantic Calendar Cake Design
To maintain its freshness, store the cake in an airtight container. It can be kept at room temperature for up to three days. For longer preservation, refrigerate it. If reheating, microwave for a few seconds until warm, but be careful not to dry it out.
Frequently Asked Questions About Romantic Calendar Cake Design
What’s the secret to perfect Romantic Calendar Cake Design?
The key is in the mixing! Make sure to cream the butter and sugar well to incorporate air, resulting in a light and fluffy cake. Use the best ingredients and follow the steps closely for a successful bake.
Can I make Romantic Calendar Cake Design ahead of time?
Absolutely! You can bake the cakes a day in advance and store them in the refrigerator. Just frost and decorate on the day you plan to serve it for the best presentation.
How do I avoid common mistakes with Romantic Calendar Cake Design?
One common mistake is overmixing the batter, which can lead to a dense cake. Mix just until combined, and ensure all ingredients are at room temperature for an even batter.
Variations of Romantic Calendar Cake Design You Can Try
Feel free to get creative! You can try:
- Adding different food colorings for seasonal romantic cake ideas.
- Incorporating flavors like lemon or almond for a unique taste.
- Using whipped cream and fresh fruits for a lighter version.
Remember, this cake design can be adjusted to fit any occasion, making it versatile for all your celebrations!
For more delicious recipes, check out our Pistachio Pavlova Meringue Cakes or Easy Cinnamon Rolls. If you’re interested in learning more about baking techniques, visit The Joy of Vegetable Gardening for tips that can enhance your baking experience.
PrintRomantic Calendar Cake Design: 5 Steps to Heartfelt Bliss

A beautiful cake design perfect for romantic occasions.
- Prep Time: 30 minutes
- Cook Time: 30 minutes
- Total Time: 1 hour
- Yield: 12 servings 1x
- Category: Dessert
- Method: Baking
- Cuisine: American
- Diet: Vegetarian
Ingredients
- 2 cups all-purpose flour
- 1 ½ cups sugar
- 1 cup unsalted butter
- 4 large eggs
- 1 cup milk
- 2 tsp vanilla extract
- 1 ½ tsp baking powder
- ½ tsp salt
- Red food coloring
- Fondant for decoration
- Edible flowers
Instructions
- Preheat the oven to 350°F (175°C).
- Grease and flour two 9-inch round cake pans.
- In a bowl, cream together butter and sugar.
- Add eggs one at a time, mixing well after each.
- Stir in milk and vanilla extract.
- In a separate bowl, mix flour, baking powder, and salt.
- Gradually combine dry ingredients with wet mixture.
- Divide the batter and add red food coloring to one half.
- Pour the batter into prepared pans and bake for 25-30 minutes.
- Let the cakes cool before removing from pans.
- Layer the cakes with frosting and cover with fondant.
- Decorate with edible flowers to finish.
Notes
Nutrition
- Serving Size: 1 slice
- Calories: 350
- Sugar: 25g
- Sodium: 200mg
- Fat: 15g
- Saturated Fat: 9g
- Unsaturated Fat: 4g
- Trans Fat: 0g
- Carbohydrates: 50g
- Fiber: 1g
- Protein: 4g
- Cholesterol: 70mg


Leave a Reply