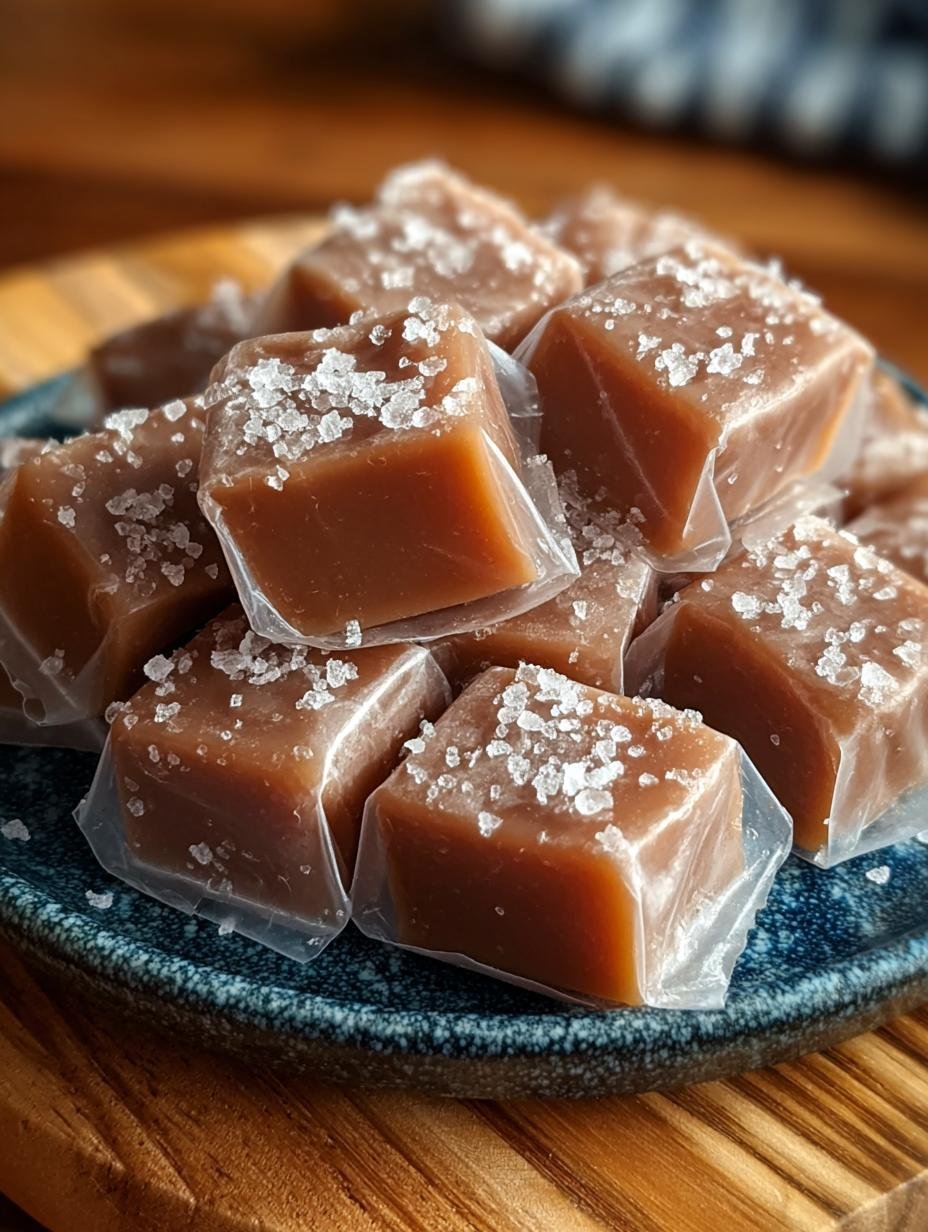
Caramels have always held a special place in my heart. These delightful, melt-in-your-mouth treats are synonymous with comfort and joy. Homemade caramels are not only soft and chewy but also buttery, making them a perfect indulgence for any occasion. This classic recipe is simple enough for beginners, yet the results are impressive enough to gift to friends and family. Whether you’re preparing for the holidays or just a cozy night in, these caramels will surely be a hit.
Why You’ll Love This Caramels
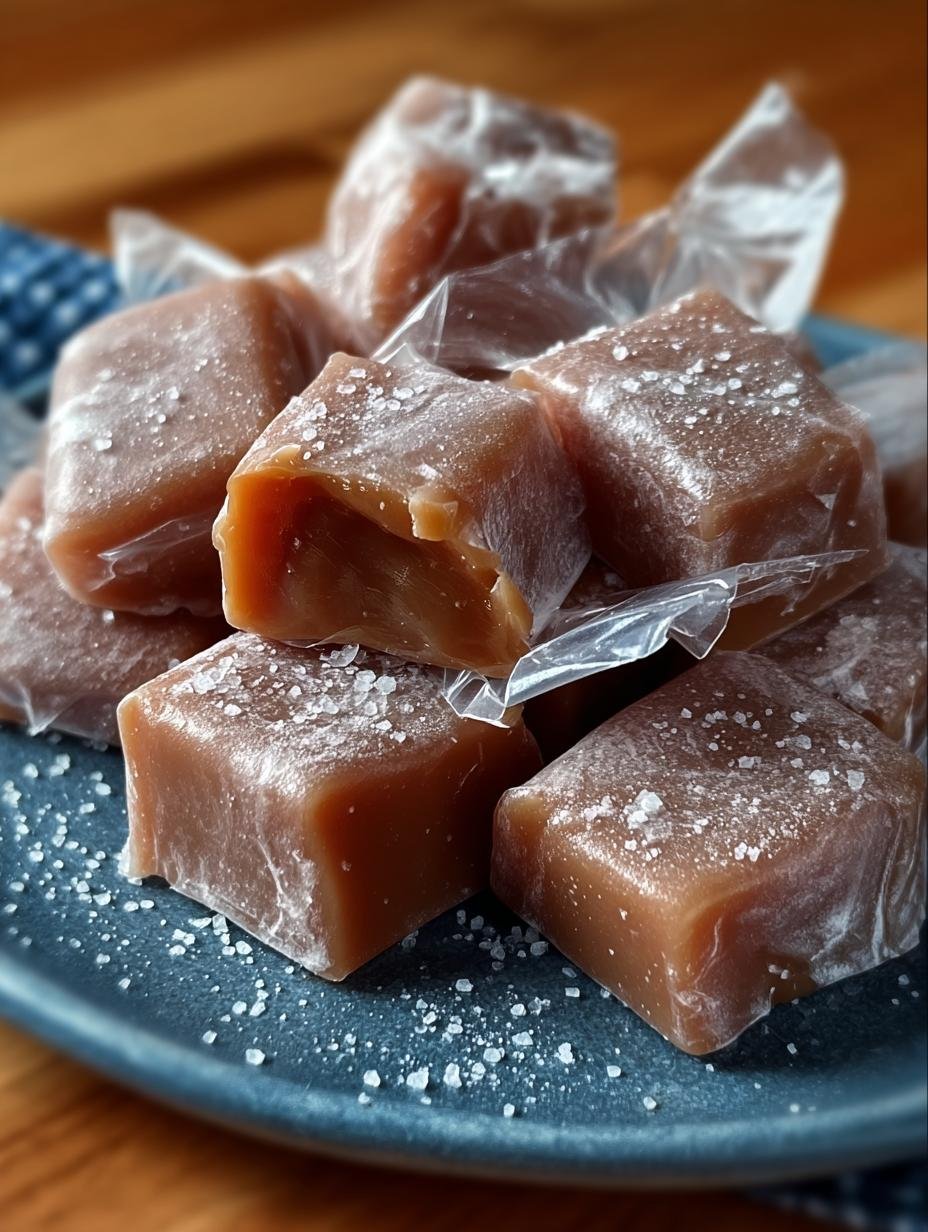
There are countless reasons to adore homemade caramels. First, their rich, buttery flavor delivers a nostalgic taste that is hard to resist. They are a perfect blend of chewy and creamy, offering a delightful texture that melts in your mouth. Not to mention, they make fantastic gifts for the holidays or special occasions, adding a personal touch that store-bought candies simply can’t match. This recipe is also versatile, allowing you to create variations like toffees or soft caramels. You can even explore vegan caramel alternatives to cater to dietary preferences, making it suitable for everyone. Plus, making your own caramels is a fun activity to do with family or friends!
Ingredients for Caramels
Gather these items:
- 1 cup (226g) unsalted butter
- 2 1/4 cups (450g) packed brown sugar
- 1 cup (240ml) light corn syrup
- 1 (14 oz) can sweetened condensed milk
- 1 teaspoon vanilla extract
- 1/8 teaspoon salt (optional)
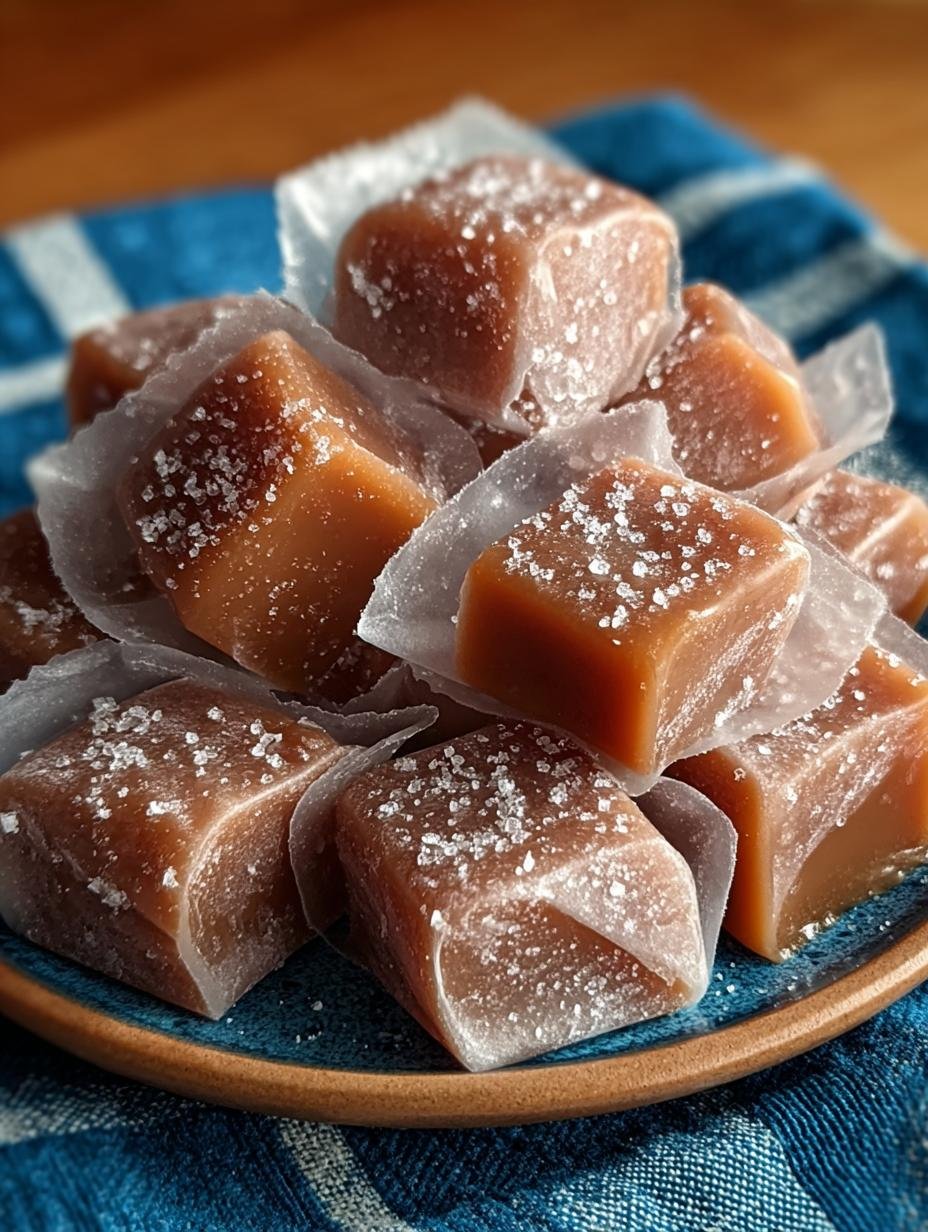
- Flaky sea salt, for topping (optional)
How to Make Caramels Step-by-Step
- Step 1: Line an 8×8 or 9×9 baking dish with parchment, leaving overhang for easy lifting.
- Step 2: In a heavy saucepan over medium heat, melt the butter completely.
- Step 3: Stir in brown sugar and corn syrup. Cook, stirring constantly, until sugar dissolves.
- Step 4: Slowly pour in condensed milk while stirring. Bring mixture to a gentle boil.
- Step 5: Continue stirring and cook until caramel reaches 238–240°F (soft-ball stage). Without a thermometer, test by dropping a bit into cold water—it should form a soft ball.
- Step 6: Remove from heat and stir in vanilla and optional salt.
- Step 7: Carefully pour caramel into prepared pan and smooth the top. Add flaky salt if desired.
- Step 8: Let cool at room temperature for several hours until firm.
- Step 9: Lift out using parchment, slice into squares, and wrap in wax paper for storage or gifting.
Pro Tips for the Perfect Caramels
Keep these in mind:
- Store caramels in a cool place.
- Wrap individually for easier sharing.
- Use a candy thermometer for accuracy when cooking to ensure the perfect texture.
Best Ways to Serve Caramels
There are many delightful ways to enjoy your homemade caramels. Try serving them as a sweet addition to your dessert table during special occasions. They pair wonderfully with caramel desserts like brownies and ice cream sundaes. Alternatively, consider making the best chocolate-covered caramels for an indulgent treat that’s perfect for gifting or entertaining.
How to Store and Reheat Caramels
To ensure your caramels stay fresh, store them in an airtight container in a cool place. If you want to make them ahead of time, they can be stored for up to two weeks. To reheat, simply microwave for a few seconds or place them in a warm oven to soften before serving. This way, you can always have a delightful treat on hand!
Frequently Asked Questions About Caramels
What’s the secret to perfect Caramels?
The secret lies in cooking the caramel to the right temperature, which is 238–240°F. This ensures the right consistency between hard caramels and soft caramels.
Can I make Caramels ahead of time?
Yes! Homemade caramels can be made several days in advance and stored in an airtight container. This makes them perfect for planning ahead for parties or holidays.
How do I avoid common mistakes with Caramels?
To prevent caramels from sticking together, ensure they are completely cooled before cutting. Also, consider adding a touch of salt to counterbalance the sweetness and enhance the flavor.
Variations of Caramels You Can Try
Feel free to get creative with your caramels! You can experiment with adding different flavors, such as cinnamon or espresso, to create unique caramel flavoring for desserts. For a twist, try making hard caramels by cooking them longer or adding nuts for a crunchy texture. For those on a plant-based diet, explore vegan caramel alternatives using coconut milk instead of condensed milk.
Irresistibly Chewy Caramels Recipe for Gifting
Homemade Caramels are soft, chewy, buttery, melt-in-your-mouth treats perfect for gifting, holiday tins, or cozy winter snacking.
- Prep Time: 20 minutes
- Cook Time: 30 minutes
- Total Time: 8 hours
- Yield: 36 pieces 1x
- Category: Candy
- Method: Stovetop
- Cuisine: American
- Diet: Vegetarian
Ingredients
- 1 cup (226g) unsalted butter
- 2 1/4 cups (450g) packed brown sugar
- 1 cup (240ml) light corn syrup
- 1 (14 oz) can sweetened condensed milk
- 1 teaspoon vanilla extract
- 1/8 teaspoon salt (optional)
- Flaky sea salt, for topping (optional)
Instructions
- Line an 8×8 or 9×9 baking dish with parchment, leaving overhang for easy lifting.
- In a heavy saucepan over medium heat, melt the butter completely.
- Stir in brown sugar and corn syrup. Cook, stirring constantly, until sugar dissolves.
- Slowly pour in condensed milk while stirring. Bring mixture to a gentle boil.
- Continue stirring and cook until caramel reaches 238–240°F (soft-ball stage). Without a thermometer, test by dropping a bit into cold water—it should form a soft ball.
- Remove from heat and stir in vanilla and optional salt.
- Carefully pour caramel into prepared pan and smooth the top. Add flaky salt if desired.
- Let cool at room temperature for several hours until firm.
- Lift out using parchment, slice into squares, and wrap in wax paper for storage or gifting.
Notes
- Store caramels in a cool place.
- Wrap individually for easier sharing.
Nutrition
- Serving Size: 1 piece
- Calories: 70
- Sugar: 10g
- Sodium: 50mg
- Fat: 3g
- Saturated Fat: 2g
- Unsaturated Fat: 1g
- Trans Fat: 0g
- Carbohydrates: 11g
- Fiber: 0g
- Protein: 0g
- Cholesterol: 10mg


Leave a Reply